
Gigrove enables you to create custom fields on your product or your service page, in order to collect additional information, files, or to create a service personalization that fits your business dynamics and rules. Customers are able to choose, add or select predefined data upon the checkout, which you can manage in your Gigrove dashboard. At the moment, you are able to add the following custom fields to the gig page:
- Multiple choice (Images, dropdowns, radio buttons)
- Customer-defined price
- Quantity
- Checkboxes
- Short text
- Long text
- File upload
- Heading sections
Please navigate to “Add new gig” page, then scroll down to the tab section and select “Custom fields”:

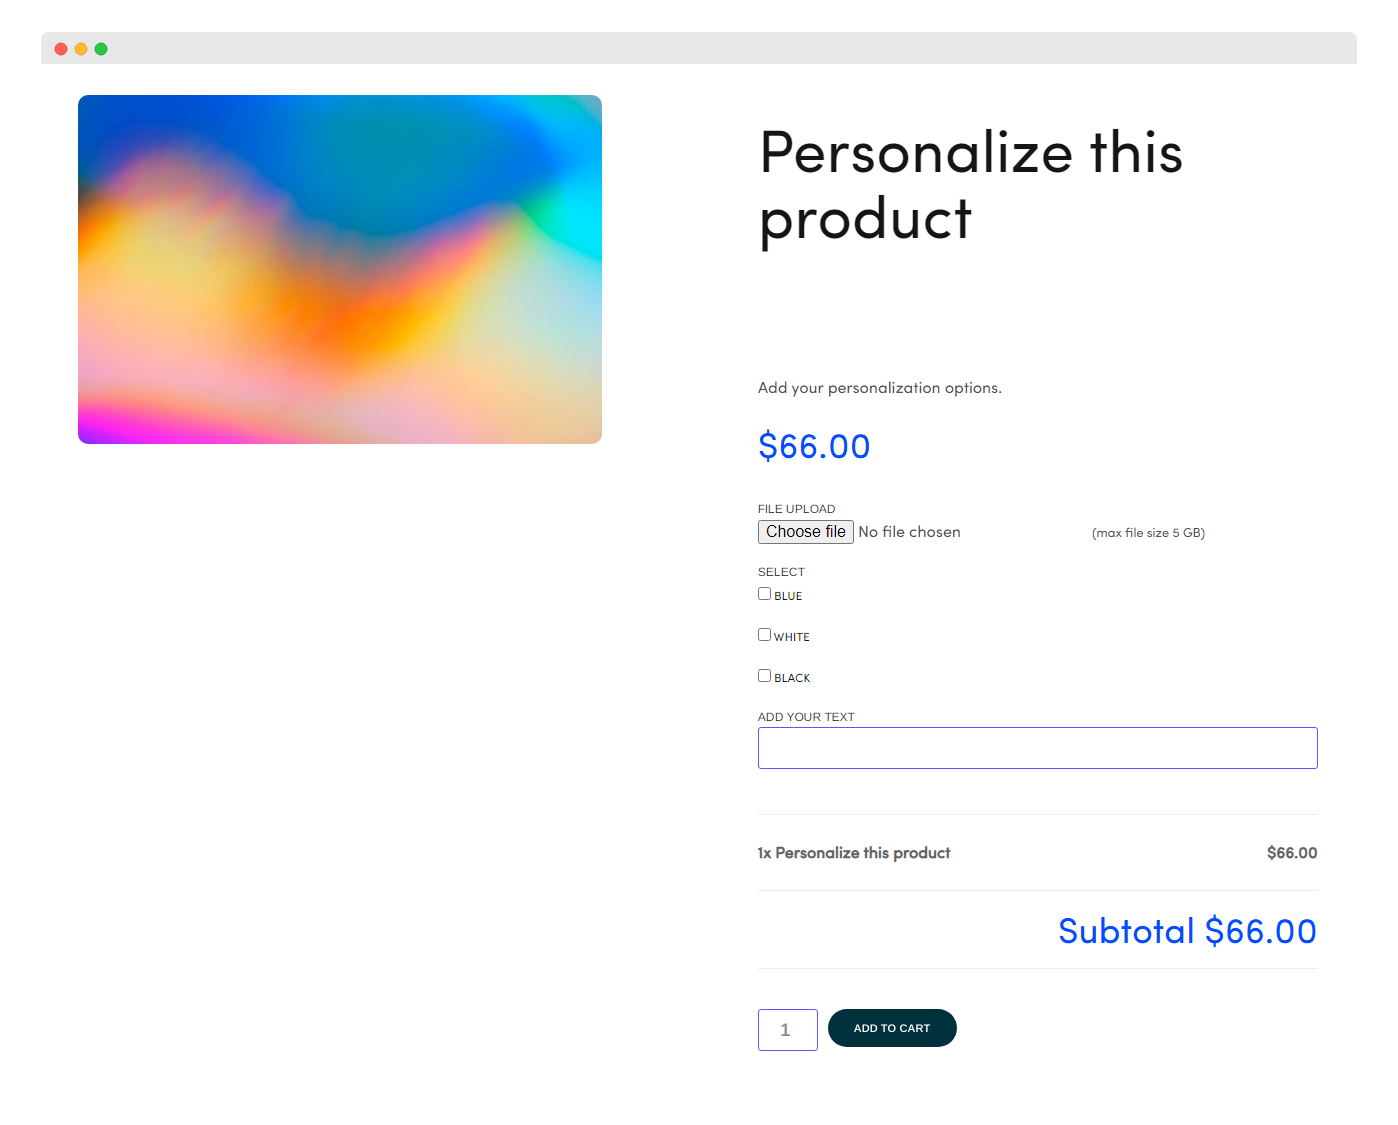
On this tab, you are able to select the type of field you want to show at this gig page. When you are finished adding custom fields, click to save and publish this product or a service.
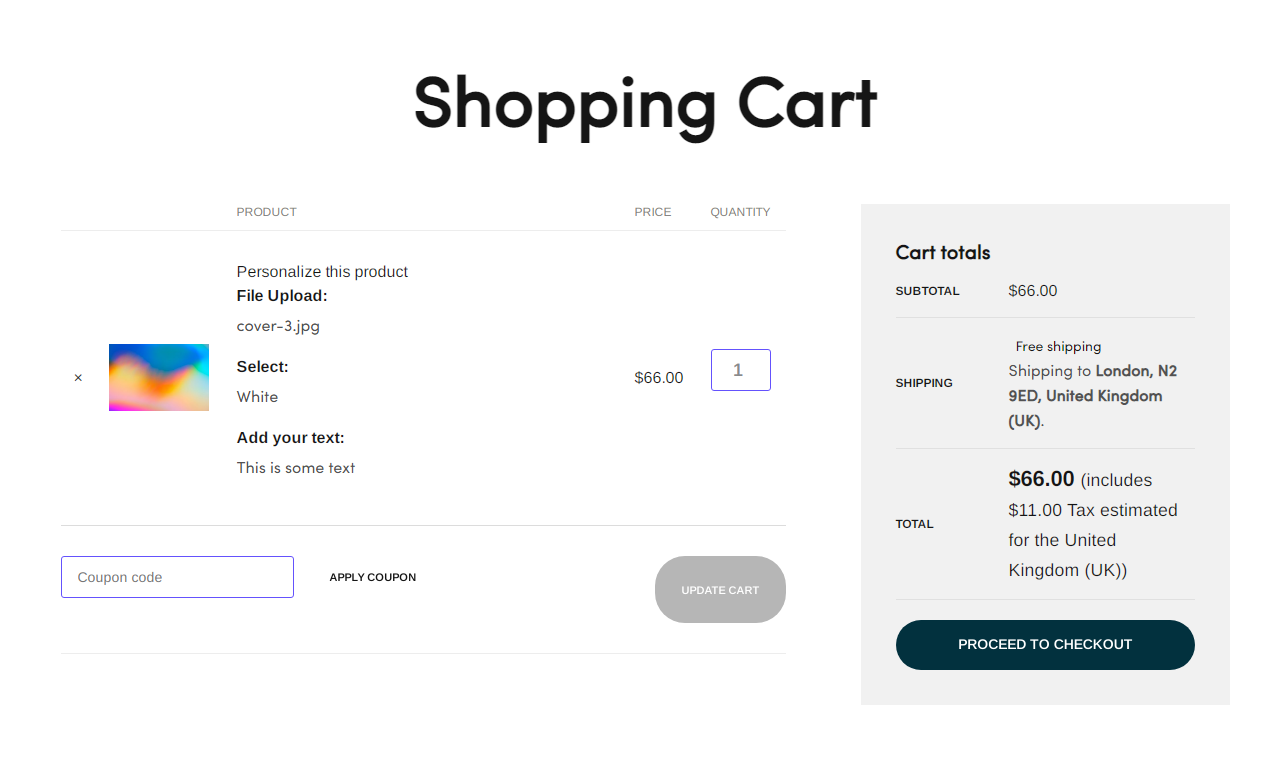
When the customer adds the data to your gig page, and when they click on “Add to cart”, the data will be saved and showed on the cart and checkout page:
This customer input data will be saved and showed at your Gigrove dashboard as well. To view custom field data, please visit “Orders Manager” page and click on the particular order to view custom field entries.